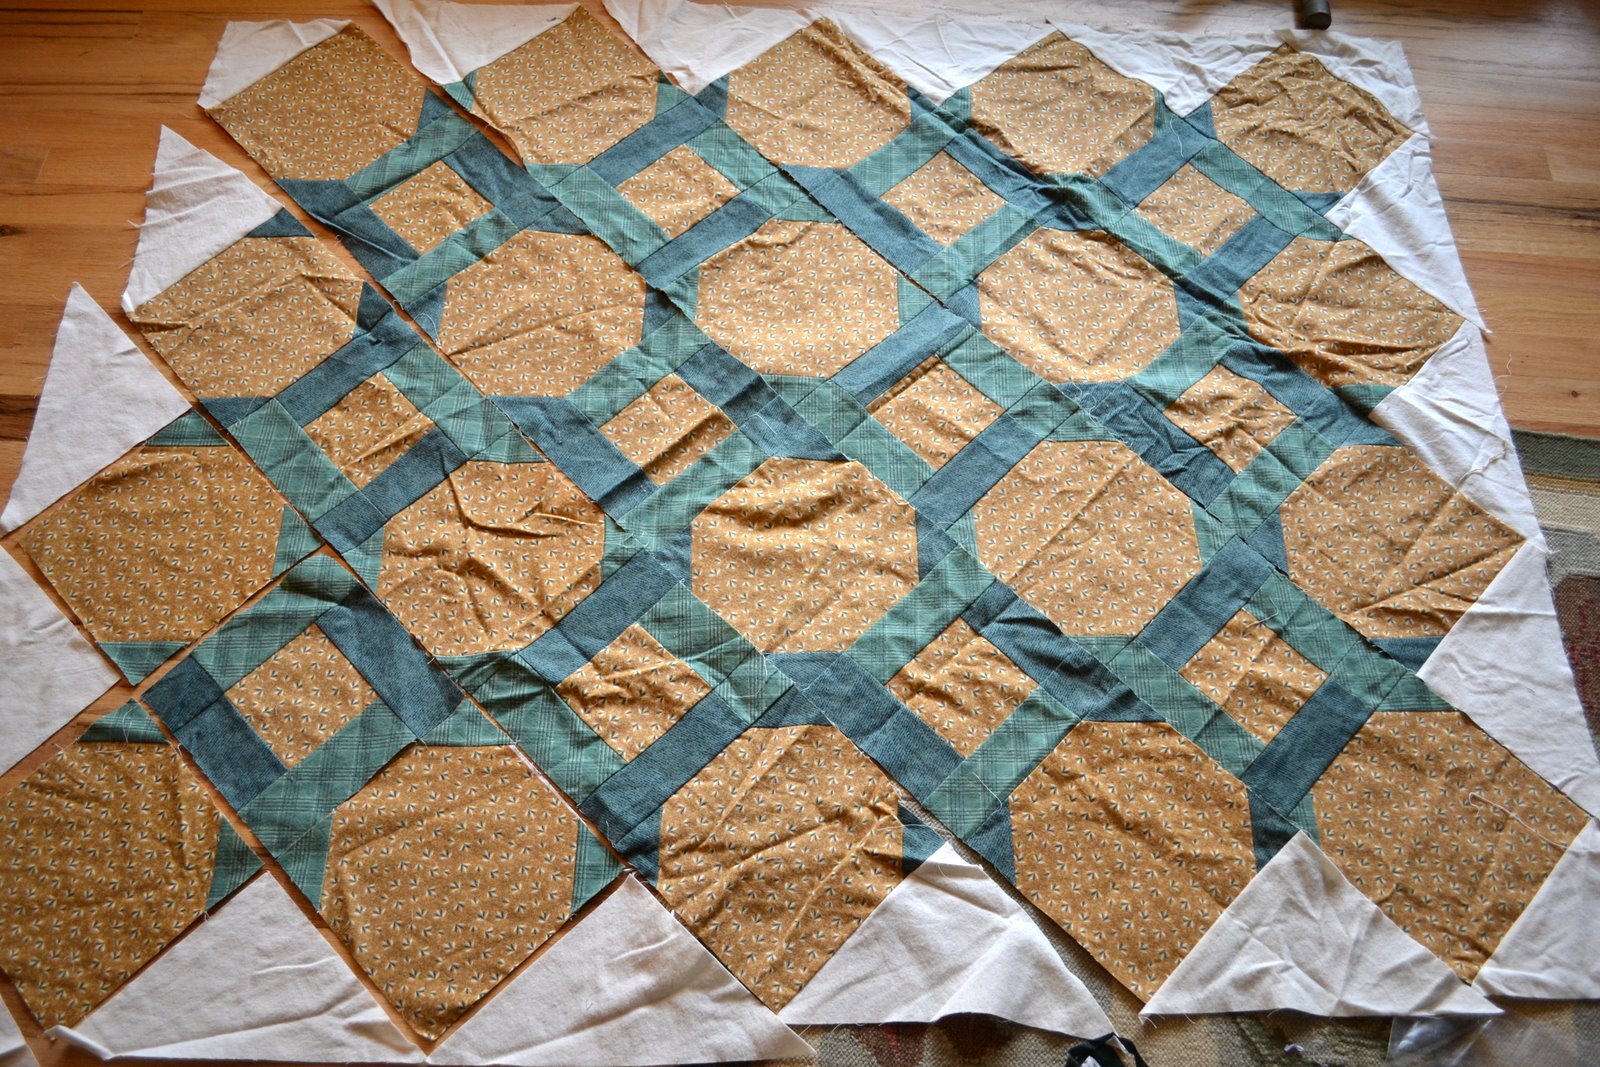
Wednesday, July 20, 2011

back, with a finish

I know! It's been forever! I have been doing a little bit of sewing this summer, and here's a recent 'big finish'.

I've been a member of the do. Good Stitches bee for the last 9 months or so, and have been having fun being a stitcher, making blocks for the Faith circle. A couple months ago, I also joined the Inspire circle (making quilts for my favorite charity - Project Linus), but this time as a quilter. Being a quilter means you get to choose a design, collect the blocks and assemble the quilt. My month was May, and I chose this beautiful quilt by Amy of Diary of a Quilter as my inspiration:


To make up for all the girly and toddler quilts I usually make for Project Linus, I wanted to make something for an older boy. I asked for blue and brown square-in-square blocks, with a touch or green and gray. They were to be either 12.5" or 6.5" square, or a mix of the two sizes. The members of my group made some really wonderful squares for me! To make it a larger quilt (those teen boys are big!), I made the equivalent of 7 more blocks (though most of them were 6.5" blocks, so let's say 2 big blocks, and 20 small ones). The final dimensions were about 54" by 72". It was pretty addictive to go through my scraps and stash, and to use fabrics I wouldn't normally pick out or put together. What a great stash-buster project!


As you can see, my layout is a lot more regular than Amy's was. I tried to do a random layout, but I just couldn't get it to look right! So, I gave up, and went for a more regular one. With all the variety in the blocks, it still looks pretty random! Many thanks go to Chara for helping me with the layout!

For the back, I used a large piece of this fantastic Katie Jump Rope fabric. I had picked it up at a Project Linus meeting, long before I planned this quilt. It was perfect! I bordered it with a medium gray - it doesn't quite match the lighter gray in the KJR fabric, but close enough!


I based the quilting on the diagonal print of the KJR print. After basting (using spray basting, as usual!) I took a kid's washable marker, and used a ruler to extend the diagonal lines into the border fabric. After that, I quilted it from behind. I've used this technique before, and I highly recommend it. It's super quick, and looks great from the front.


Sorry these photos kinda suck - I finished the quilt the morning of our monthly meeting, and was in a rush to get the photos taken so I could run off to donate it!


I wanted to do something special for the label, more than just the standard tag. The text reads "This quilt was stitched with lots of love, especially for you, by the members of the "Inspire" circle of the "do. Good Stitches" bee on Flickr.com, May 2011. We hope it keeps you cozy!"


I'm also pretty darn proud of myself for finishing it on time - the bee rules say you should finish the quilt within 30 days of receiving all the blocks. I think I got my last block in the middle of June, and the quilt was donated on July 10. Yay for me!!

Saturday, April 30, 2011

finding my lost mojo

Oh, my poor neglected blog!

It's been a whole month - I had a work trip, followed immediately by a visit from my mom and sister for Vada's birthday, and then I had to catch up on work... It was just one thing after another! For a few weeks, the only sewing I managed was this birthday outfit for Vada, just another appliqued t-shirt and circle skirt. (Yes, I am a one-trick pony!)


Isn't she a cutie, though? It's the only year I could give her a "V" shirt (V being the roman numeral for 5 - get it?). It doesn't take much to amuse me! I love how her outfit matches her new bike - not planned at all.


So, after life settled down a bit, I tried my usual trick for getting back into sewing. I took the old two-page list of UFOs and TODOs, and rewrote it.


Somehow it still ran over to two pages! Drat - I'd better get busy!


Still not motivated, I moved onto trick number 2 - an easy sewing task with a hard deadline. These are my blocks for the April "Faith" circle in the do. Good Stitches bee. I loved the rainbow theme, and I really loved the freedom to make blocks in whatever size we pleased. I was having so much fun, I made 3 blocks instead of 2. They are simple designs, but I guess that's just my style!


So, that's one thing to cross off the new list! Yay! Now I need to get cracking on blocks for the second circle I joined - the new "Inspire" circle for Project Linus quilts. Next month is my turn to be the quilter for that circle, so I get to pick the theme. I'm a little nervous about it, but I think I picked something fun and flexible, so hopefully it will go smoothly.

Thursday, March 24, 2011

my new friend - FOE

Have you ever used FOE (fold over elastic)? I'd been mildly interested, but I don't really sew enough clothing to justify ordering any. Then I saw some at the sewing expo a few weeks ago, and was sorely tempted... and when I saw the "remnants - all you can stuff in a bag for $10" bin, I fell for it. I think I scored a great deal - I got at least 45 yards, of several different widths and colors. Plenty to play around with now!


My first attempt to use it was for this simple circle skirt for the kid. Happy St. Patrick's day! I followed the basics of the MADE tutorial (could not be any easier!). When it came time to do the waistband, I cut a length of FOE about the same length I would for normal elastic if I was using a casing. I pinned it at 4 places, and stretched the FOE as I sewed it down with a zigzag stitch. Super easy, super quick!


The only problem is that it somehow turned out WAY too big! I wasn't about to redo it (me? rip out zigzag stitching? not on your life!), so I just made two really ugly tucks on the sides. On the upside, it will be really easy to let those tucks out, so this skirt should last for *years*! So I guess the stitching makes it so that the elastic doesn't un-stretch all the way back once you've sewn it down. Is there some magic formula for how much shorter you should make it? I guess I can answer my own question - for about a 19" waist, I had to take up about 4 or 5". So, about 25% less. There you go.


I did look around youtube to see if there were any videos about how to use FOE. I found a few, but nothing about how to measure it to fit a waistband. I loved the Angry Chicken video, but even hers didn't say anything about it. Oh well, I'm okay with trial and error!

And speaking of other new things to try - what do you know about laminated cottons? I picked up a couple of these remnant pieces at the expo ($1.50 each, for two extra chubby fat quarters), but they curl up like crazy! I can't imagine trying to sew when the fabric is like this. Especially for a laminate - aren't you supposed to avoid using pins? Any hints for how to get them to lay flat? I tried to press them, but it just seemed to make it worse. Should I wash them, or throw them in the dryer? Any other advice? I'm not even sure what I'm going to make with them, maybe snack bags?


Wednesday, March 23, 2011

for Japan

If you've been thinking about donating to relief efforts in Japan, let me twist your arm a little...

I had already planned to donate, and when I saw some wonderful bloggers offering up their lovely quilts to encourage donations, I decided to take what I'd normally donate, and spread the love around. It's not so much that I want to win a quilt, mind you. I just want these generous folks to know I appreciate their efforts, and that their quilt "earned" as much cash as possible! So, if you're able to donate, why not support these awesome quilters? And if I missed any others, please let me know!

Just click on the picture to go to their giveaway post.


From Elizabeth at Oh Fransson (ends today, so be quick!)


From Stephanie at Loft Creations (ends March 26)

Monday, March 21, 2011

just a few more blocks

Here are my two blocks for this month in the do. Good Stitches bee. I didn't love the construction, because we had to use paper templates (which seems like it could be error-prone). But I think the quilt will look awfully cute!


I'm pretty proud of my work - the centers are almost perfect! I used starch at every step, and I think that really helped.


And surely you've heard of Moda's Just One Star project by now. Of course I had to join in! But asking me to make just one of anything? Ha!! If I pull a fabric out of the stash, it's not going back in! I pulled out a couple blues, and made as many stars as I could - 20 to be exact!


As I was following the instructions they provided, I got really tired of all the trimming and waste that went along with making the star points. A light bulb finally went off when I realized that these are just flying geese. I hadn't made them before, but I had seen tutorials for no-waste methods. I found this one, figured out the new dimensions I'd need, and tried it with a red fabric (yes, just one star that time!). It worked great! So much faster, and no waste. So, if you are thinking of making these blocks and want to use an easier method for the star points, use both of the tutorials together, with these substitutions:
  • Four 2 3/8" (2.375") squares of red/blue fabric (instead of the eight 2" squares the Moda tutorial calls for)
  • One 4 1/4" (4.25") square of background fabric (instead of the four 2" x 3.5" rectangles the Moda tutorial calls for)
Hope that helps - go make some stars!

Thursday, March 3, 2011

sweatshop mode

No interesting sewing has been going on around here these last couple of weeks. I've been sweatshopping up a storm, though. My MIL asked for a few more reusable grocery bags (see my tutorial here), so I whipped up a couple using a vintage sheet. I love this print, but that dark gray doesn't really go with most other sheet prints, so it was perfect to use for a bigger project.


Unfortunately, after I was done, I loved them so much that I didn't want to give them away! I had a duvet cover that I'd bought specifically to make bags (my favorite way to go, because the front and back fabrics coordinate), so I cut that one up and made 6 more. I'll probably give 3 to my MIL, and keep the other 3 for a future gift.


And why not go crazy? I had this other sheet that I loved, but it wasn't really vintage enough for other projects, so I backed it with a solid peach sheet and made 6 more bags!


While I was making these, I walked my friend Quynh through the process, and she made a few bags of her own. Then she put her own creative twist on it, and turned a bunch of vintage sheet charm squares (that I'd given her for xmas!) into patchwork bags. They are so awesome!! She let me pick my favorite one to keep, and I chose this beautiful blue one. How sweet is that? I think it might be my favorite bag ever!


And my latest sweatshop project - going through the sheet stash, and cutting out yardage to send to my best addict/customer, Amanda. We have such a great thing going - I get to keep collecting prints, but my bins no longer overflow quite so much, and Amanda gets a steady supply of raw materials for her shop. Perfect!

Tuesday, February 22, 2011

loot, and someone else's WIPs

It started off innocently enough.... Another stash sale + a few free hours on a Saturday morning = me suckered in...


"Lucky" and "ecstatic" were overstating it a bit! There was the usual collection of "stuff" - some okay fabric, some crap fabric, some rulers, some bags of scraps, etc. I was chatting up the seller, and she said she had tried out quilting a few years back, and had taken a few classes, but never really got into it, so she was getting rid of everything. There were a couple quilt tops, and I suggested that if she wanted to donate them, I'd quilt them up and give them to Project Linus. She had never heard of the organization, but immediately said yes (I later learned she was a nurse, so no wonder!).

Then she asked if I knew anyone who could do some quilting for her, as she had one quilt top left that she loved and wanted to keep. I told her I could certainly ask around and find someone for her. She ran inside to get her card, and came back with the quilt. It had obviously been a while since she looked at it, because it turned out it had already been professionally quilted and trimmed up, and all it needed was binding. The words "Well, gosh - I can do that for ya!" were out of my mouth before I knew what I was saying! I was holding a little stack of fabric that I had picked out, and she asked if I wanted to swap that for the labor. Um..... Oh, what the heck! Sure. But then I was kicking myself all the way home. Was it really worth my time to bind a quilt for a few yards of fabric? Oh well, I would consider it a 'random act of kindness', and it would be all good.

And look how pretty her quilt was! After 5 years of WIP purgatory, it totally deserved to be out of that plastic bag and put to use!


It was about 72" square, and there was some of the border fabric in the bag with the quilt, so I just used that for the binding. Thankfully she was okay with having it machine stitched down in the back (no way I would have agreed to hand sewing - I'm not that crazy!), and it only took me about an hour and a half to get it finished. Yay for me! I should totally add this to my big list, just so I can cross it off! Finishing someone else's WIP should count! (Maybe double!) :-)


Later in the afternoon, I trundled back up to Woodinville to drop off the quilt. She was so pleased to have it back so soon, and she loved it! Yay!

You know that old saying 'no good deed goes unpunished"? With her garage sale over, she asked if I would like to take home all the remaining sewing stuff, to use or donate. And of course, I can't pass up an offer like that! It took me quite a while to sort through it all. But in the end, I ended up with several bags of non-cotton fabric to be donated or freecycled, plus all this loot:

A medium-sized cutting mat, some small rulers and a bunch of thread...


A small basted quilt (or table topper or wall hanging, maybe?), which I might donate to Project Linus (the colors aren't very child-friendly, so maybe not)...


A basted table runner. Not sure what the heck I'll do with this. At least the colors are more cheery. Maybe I can add some borders and turn it into a small quilt? There are some scraps of those fabrics left, but I'm not at all interested in making more of those blocks!


A mostly complete xmas-themed top (just needs some borders), about lap size. Definitely colorful enough for a PL quilt!


This flannel WIP, which I'll probably go ahead and finish up to donate. It has all the pieces, just needs a little more piecing. I do not love these colors, but it should be warm and snuggly anyway.


This WIP has a LOT of blocks, and only a few are sewn together. Again, I don't love the colors, but maybe it would be okay for an older boy. I'm not sure I want to spend the time it would take to finish this one up, so I might try to pass it off to someone else...


This project was either a kit, or only taken to the cutting stage. One block was finished, and one block was started, and that was it. I think it would be a piece of cake to turn this into a different design, like maybe a coin quilt. And it sure is colorful!


And lastly, some fabric. Some yardage of flannel...


And a bunch of fat quarters of flannel and a little homespun. There are multiples of each print, and I'm not sure they were meant to go together, so I'm not sure what to do with them.


Some coordinating FQ's...


And a pretty piece of silk.


Phew... Almost done. I'll spare you the photos of the stack of random fabrics and scraps, and show you just one more thing. There are 12 of these Trapunto blocks...


They are about 12" square, and each bird is outlined and stuffed. I think there are 2 each of 6 different scenes (or maybe 3 each of 4 scenes?).


I can't see these being used for a Project Linus quilt, and I won't use them myself. But I hate to think of all that work being wasted! So, if you want them, just leave me a comment! I'll even spring for the shipping (US only, please) to get them to a good home. :-) On the off chance that there's more than one taker, I'll draw a name in a couple days.